Showing posts with label Colette pattern. Show all posts

Sunday, January 23, 2011

Colette Patterns Spring Palette Challenge


So I've decided to take part in the Colette Patterns spring palette challenge, which is very exciting (and timely, since I decided 2 weeks ago to use a palette for once!). This is what I've come up with:

I haven't decided what will be what yet (except the second dress from the left on the bottom row) and I have to wait a teensy bit until I get the rest of my fabric. We'll see how it goes!

So, clockwise from the top left, we've got:

Simplicity 2403 - a lovely PR pattern; I modified it a bit so I'd have the ruffles and the longer sleeves, although I may make it sleeveless, I can't decide. 

Colette Lady Gray - I can finally do the sew along, months after everyone else on the internet has finished! I like the idea of a spring coat, maybe in that cerulean...

Simplicity 2443 - a Cynthia Rowley knit pattern; depending on the pieces I might try to mix up the colors a little (a little colorblocking, if you will).

Simplicity 2947 - a Khaliah Ali pattern which I'll probably make shorter (but not short enough to be the tunic) and I might use a print, if I can find an appropriate knit print for it.

Simplicity 2250 - a Cynthia Rowley pattern, again, which I already have the fabric for (it's brown with light blue birds and sea foam green leaves, I adore it) and have already cut out the pattern bits (not out of fashion fabric, mind you) but am having a bitch of a time fitting the bust because of all the damned darts.

and Simplicity 2598 - another Khaliah Ali pattern, this time for a cardigan which I think I'll make with 3/4 length sleeves and in a solid color.

Okay, well, I'm gonna get back to fitting 2250!

Saturday, November 6, 2010

Long-time-coming update

So I know it's been forever and a day (or, more accurately, two and a half months) since I last updated this blog. Which is what always happens when I try to keep a blog. But I'm (tentatively) back! This post is just an update on things I've been working on/finished... I hope to get two more things (at least) done this holiday weekend, so hopefully there will be another post soon. Okay, time to get into the crazy-long update!

First: things I've finished.

In The Sewing Book: An Encyclopedic Resource of Step-by-Step Techniques there are several pattern for practice; for Nikki, a friend in Moscow who has fantastic dinner parties, I decided to make her a set of four placements from a pattern in the book. This was actually a really fun project because it involved making my own bias tape (actually cut on the bias WHAT) and quilting, which was super fun.


I started with some light green cotton, and to quilt it (since I can't find quilting batting anywhere in Moscow) I used a pink fleece throw I got at Ikea years ago. I cut the green fabric and then inserted the fleece between two pieces of the green.


Then I would randomly sew a diagonal line straight down the middle of the fabric sandwich...


... and, using the stitch with the needle to the farthest side of the foot, I would line up the foot flush with the previous line and stitch again. This created a very uniform series of stitches.


I then finished all the stitches going in that direction.


Next, I started going diagonally in the opposite direction, perpendicular to the first set of stitches.


I used the same method of measurement and the same process...


... until I had finished the quilting part of the placemat (obviously this picture was taken before some much-needed thread-snipping).


Next I trimmed away the excess fleece and used my contrast fabric, a lovely green gingham to make the utensil holders.


I had to sew the napkin ring on, which was a pain and a chore (as you can tell by the awkwardness of this photo).


Bias binding time! I cut several strips of the gingham on the bias and then stitched them first to the front of the placemat...


...then tugged them back to the back side, encasing the open sides. Supercute!

So I finished that a little while ago. I also made these mini-bloomers from Colette:


They're in a fantastic day-of-the-dead print I got from Season. I gave them to Vaskova.

I also refashioned a long-sleeved shirt (based on this refashion) from an old TopShop tee and the rest of one of the dresses (including the covered buttons) from the apron project:


I am somewhat pleased with it; I think I should have made the ruffles longer, to give more volume, though.

I also made a cover for Ethel from an old dress I bought at a thrift store in Beloit (with the edges bound by some of the pink sheet left over from my Sencha muslin):


I also refashioned another long sleeved top based on the "Chilled Ripples Shell" from Anthropologie:


Really I just liked the neck line and all the ruffles, so here's my version (on an old sweatshirt from TopShop, made with some bits from one of the skirts Tasha gave me).


I feel like there's more that I've finished but either I didn't take photos or I'm mistaken. Anyway, on to the projects in mid-swing!

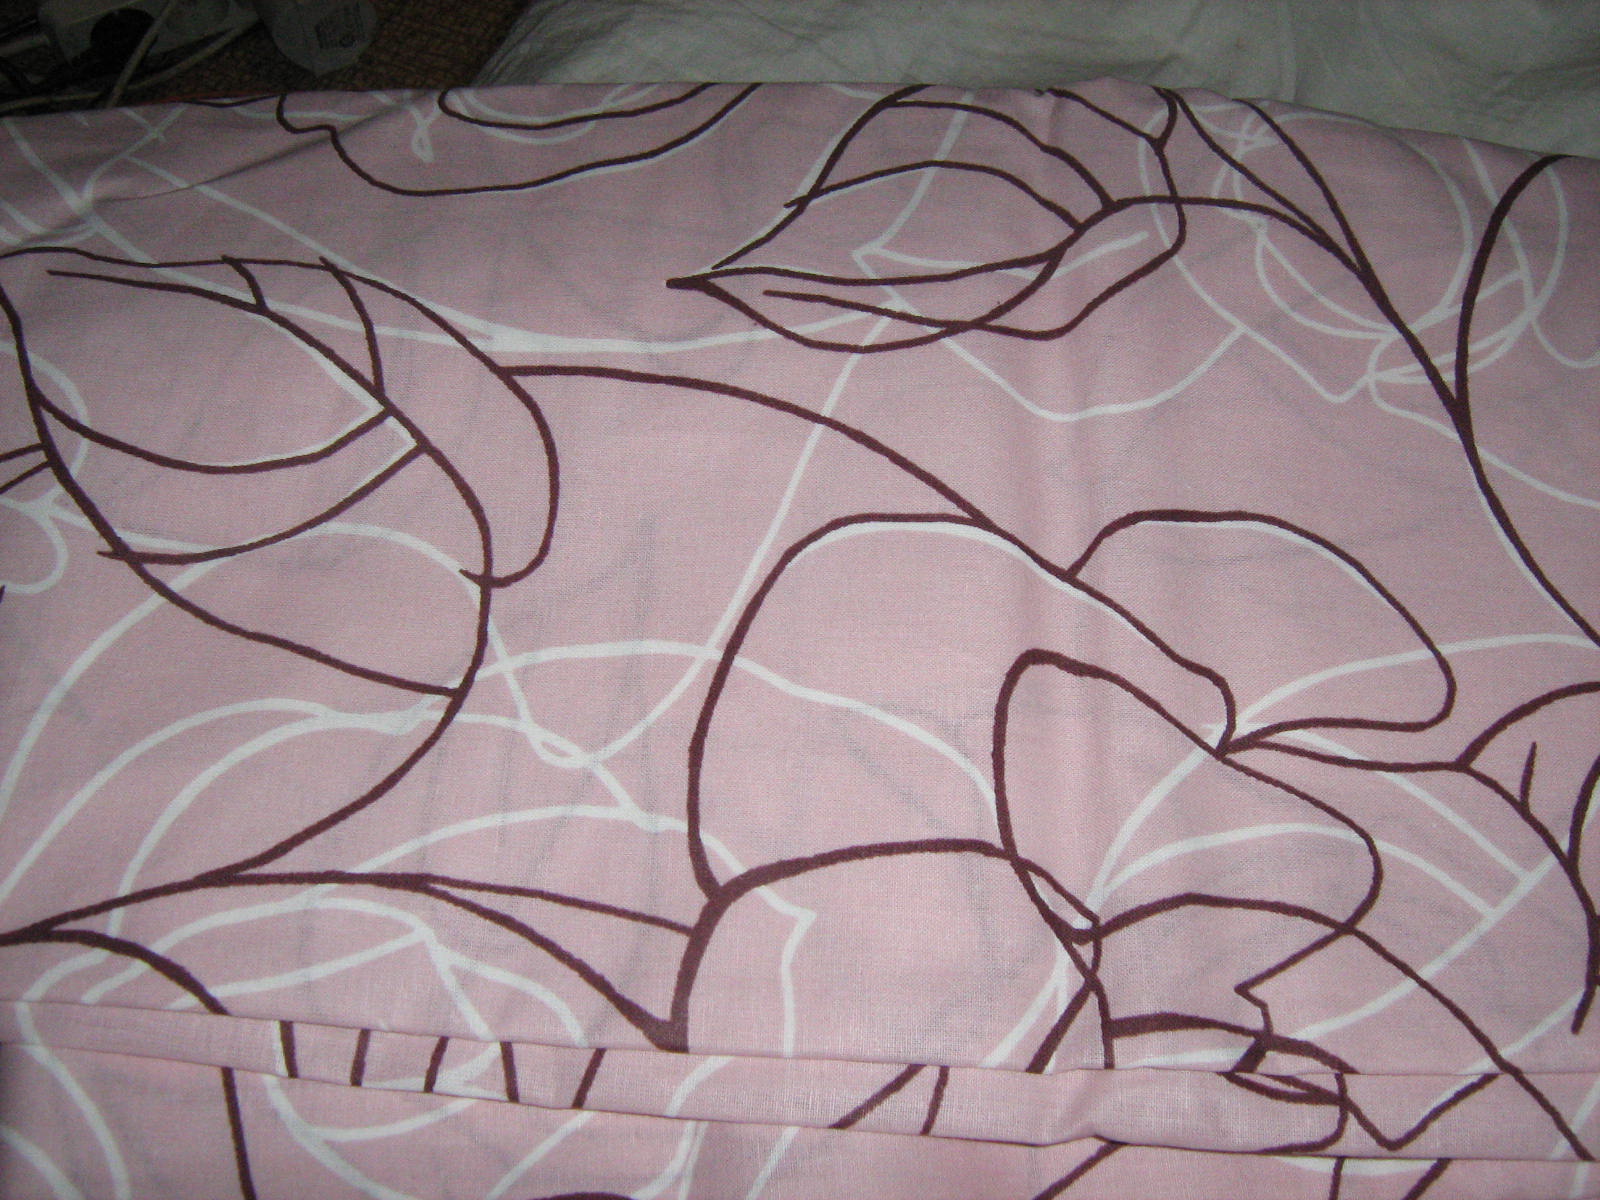
I've been working on a quilt for my niece; my sister decided to decorate my niece's room in pink, brown and white, so I thought I'd make a quilt in those colours. I got three sheets from Ikea (since I thought they'd work well as bedding):


The pink one with the print is actually a duvet cover, so it's like it's two-ply; on the one side is the pink with the print and on the other the pink is replaced by white, so it still fits in. I decided to do a rail fence quilt (seems easy enough, and pretty!) so I made a template for the size of piece I wanted:


And cut out stacks of the pieces from each fabric.


Then I stitched them together in sets of threes, and started piecing them together. I'd say I'm about halfway done with the quilt right now:


and I really really like it! It's taking forever and a day, though, and I need good long periods where I can just sit and straight stitch for hours, which are few and far between. I did this while watching the first two "Rocky" movies, so I had to keep taking breaks to cry. Ridiculous, I know.

So now I'm working on some dresses from patterns; I bought some new pattern magazines on Thursday...


...and I also finalllllllllllllllllly bought some pattern tracing paper, which it turns out is SO EASY TO USE I DON'T KNOW WHY I'VE BEEN AFRAID OF IT.


There were several great things in the magazines; in the one on the left there was a pattern for this skirt (which I bought some chiffon printed with newpaper pages for) AND LEGGINGS. I'm obsessed with leggings (I hate tights, I never wear trousers, so winter in Moscow can be a very uncomfortable place BUT this winter I've fallen in love with leggings) and now I can make my own! I want to make zebra-print, and a pair with one black leg and one white leg. YES.

In the magazine on the right was this little number, which seems very very easy to make (it involves gathering and making elastic casings, both of which I could probably do in my sleep) and comfy. Also, how cute is that guy? Germans, man; I moved to the wrong country. Isn't it nice to see pretty girls in pretty clothes in plus-size magazines, with adorable dudes too? I think it's nice. And by nice I mean awesome.


Anyway, I got these sheets from Ikea to make the dress above with:


The second picture is a brown that matches the brown in the print, I don't know why it's so grey. I think I'm gonna use the print for the skirt and the brown with the stripes for the top, but I'm not 100% sure yet. I feel like that will be mildly ridiculous, so I have to think some more. Although I've already traced and cut the pattern pieces from the magazine, so I'm ready to roll.

I also bought some fabric for the Carmen Sandiego dress, which I'm making this weekend too, hopefully:


I accidentally bought some horribly sheer red stuff on Thursday which broke my heart when I started working on it BUT I can use it to make an underskirt for this dress. I also bought a little baby Christmas tree yesterday at Ikea so I want to have this dress ready so me and the rabbits can pose for Christmas card photos. Ridiculous, right?

Okay, so I'm going to get to work on the peasant-y dress. Maybe I can have it finished by dinner tonight? I hope so!

Thursday, July 15, 2010

Sencha Part 2

When we last left the Sencha, I was annoyed with how the shoulders fit (the sleeves felt tight), the tightness across the bust and the way it looked like a hospital gown (funny enough, someone else thought the same thing!). So I did some quick research to see if anyone had done a full bust adjustment/alteration (FBA) on the Sencha pattern and, lo and behold, someone had! AND they made a tutorial! AND it was requested by someone named Rachel! Will wonders ever cease? So here's the tutorial.

I got my supplies ready: the pattern tissue, a marker for marking, duct tape (classy!) for taping, and scrap paper for filling in the gaps (only the first two are pictured here):


Then I did the tissue-fitting, and marked the bust point (while wearing a bra this time, learned my lesson).


I also took this opprotunity to transfer from my first muslin piece of the front bodice the neckline adjustment I'd made.


Then I drew in the lines to be cut and spread...


...and cut and spread them.


Then I used the scrap paper and tape to fill in the gap of the pattern. View one:


and view two:


After that I cut another front bodice piece out of the Ikea sheet and pinned it all together to get an idea about the fitting.


A little blurry but much better. The sleeves didn't feel as ridiculous anymore, the neck looks good (I might even take a bit more out of it), and it fits better over the bust. The issue now is with the waist; the tutorial linked to above suggests taking some out of the waist, which I didn't do because, as usual, I'm paranoid about making it too small. So before doing that I decided to try the tucks on one side to see how that brought things in.


Much nicer, BUT again I wonder if I should take some more in on the waist. I think the next step (again, its way too hot in my flat and I can't work on this for extended periods... unless I bring my fan into the entry way... which I totally could and I just now realized) will be to baste (listen to me, saying such words!) the tucks in on both sides of the bodice and try it again, and figure out how much to take off the waist.

I never thought I'd spend so much time on something I can't actually wear out of the house (the fabric's too thin) but I figure if I get the muslin exactly right, I can produce numerous copies of this blouse easily and quickly. So I'm working hard on it. To leave with here's another picture of it with tucks pinned on one side (and, as an aside, I'm way more in love with tucks than with regular darts).


I think the thing I'm most pleased with is this means I can get other Colette patterns, now knowing they fit fairly well and are adorable. I might even have to got with a smaller size, but we'll see how the next phase of muslin fitting goes.

Wednesday, July 14, 2010

Sencha Part 1

I've started working on the muslin for view one of this pattern from Colette Patterns:


I'm very excited about it. I thought I might have to do a Full Bust Adjustment/Alteration (FBA) but I wasn't sure because apparently Colette Patterns are made for the curvier lass; we'll see how that turned out further down in the post.

Okay, so, first things first I cut the pattern pieces out.


This is what I'm making the muslin out of, a pink Ikea sheet which was on sale, and which is going to make splended trim for the numbers dress I'll start on once I get through with the Sencha.


Then I ironed the sheet.


After that I pinned the first pattern piece (appropriately, "A") to the sheet; in the instructions it's recommended that you use pattern weights but 1) I don't have a large enough surface and 2) I don't have pattern weights. Every time I considered buying some while I was in America all I could think was "How is it logical to buy something with the word 'weight' in it to take in your luggage?" 


I traced around it in tailor's chalk and then removed the pattern piece. Then I cut it out. Voila!


I repeated those steps with part "B," and transfered the tuck marks and button holes to the muslin.


Then I pinned it all up to get a feel for the fit of it. 


As I read in a couple reviews, the neck's a bit weird... really quite small. Also the shoulders tugged a little but I think that will be solved after I do an FBA. Yeah, I decided I probably should. Granted, the idea I got of what it looked like on is a bit skewed because I'm such a genius I didn't wear a bra (added bonus: I'm also not wearing pants!) but I feel like, with an FBA and a bra some of the stress will come off of the shoulders. 


The back fits like a dream, though, which is good. Anyway, now I have to teach myself how to do an FBA. I'm kind of excited about it though because, as a DDD girl, I'm sure I'll have to do them often in my making-things-from-patterns life. I'm taking a break from it for now though because it is so hot in my flat I was actually dripping sweat on to the muslin. Gross.