Project: refashion one of the sweaters I bought in Lithuania
Goal: to practice (pretty basic goal, I think)

So this is one of the three sweaters I bought in Lithuania that are okay are on their own. The keyhole detail on this one was what really sold me on it, but, being a busty lass, it didn't fall in the right place. Instead of trying to move it down or something, I decided to refashion this sweater into something with a sweetheart neckline (much more flattering, and it appeals to the side of me that adores low-cut numbers).
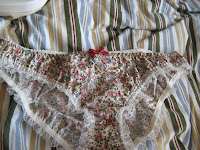
I also felt like the pink was a bit much on its own, so I decided to line the new neckline with the fabric from these panties. Don't worry, they've never been worn. I bought the biggest size they had, which turned out to still not go over my thighs, but I love the print, so I figured I'd use them on this project.

I cut the panties up into strips (I plan to save the lacy bits for an as-yet undetermined project)...

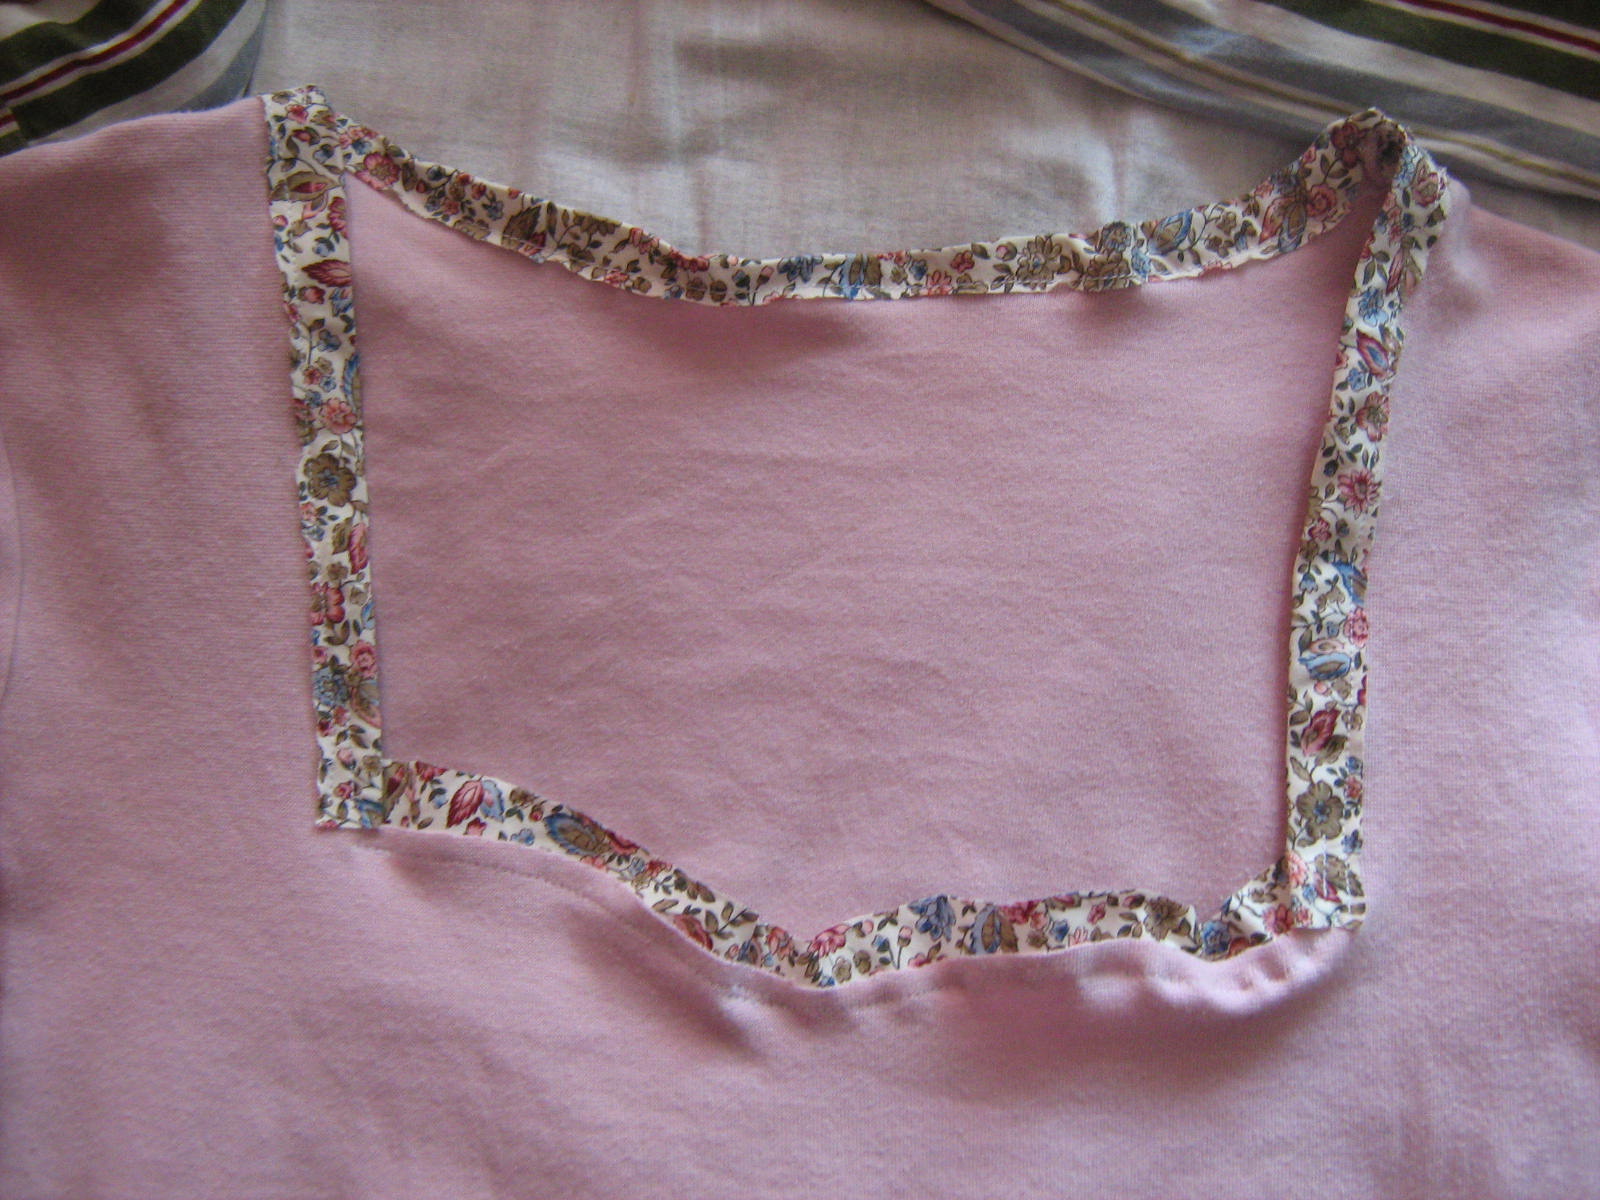
...and cut the new neckline out of the sweater.
This was all done yesterday. I wasn't feeling 100% so I was very slow about it and by the time I'd finished it was too late for me to sew (Ethel can get a bit noisy). When I got up this morning I decided before I set to work on the sweater I should organize my two boxes of scraps and notions and also my ever-growing bookshelf. So here's the before and afters:

The fabric scrap box before...

I know it doesn't look much better, but I've put all the scrappy bits in ziploc bags and wrapped the larger pieces around cardboard, so it's much better organized.

Here's my notions box before...

...and after. Turns out I have a seam-ripper! Who knew.

And the bookshelf, which first only had The Sewing Book and a copy of Burda magainze I bought in Lithuania...

... and now has Sewing Green: 25 Projects Made with Repurposed & Organic Materials , Vogue Sewing
 and The Dressmaker's Technique Bible
 as well, all of which are amazing. Sewing Green has the most adorable idea for a lunch bag and sandwich wraps which I really wanted to make this weekend but I'm still not feeling great so no trip to the fabric shop for me. Oh well. It's also got some cute skirts and dresses and one dress for little girls which I've accepted a dare to make in my size.

Okay, intermission over. I pressed the panty bits in half and then pinned them around the sides of the neckline (except the sweetheart bit).

Then I sewed them on.

I trimmed back the seam allowance (which I should put in quotation marks because I eye-balled it to the max) and pressed the panels for the sweetheart part.
Then I stitched them on, trying really hard to keep the integrity of the shape of the neckline. I don't think I did too bad of a job. Here's where I just want to say that when I look at this picture I think "Oh, it looks so much better on!" which is ideal, in my opinion. Few things are worse than seeing something and being like "cute!" and then seeing it on and feeling horrible.

I decided to jazz it up a little by making a bow out of some of the elastic from the panties...

...and attaching it at one of the corners of the neckline. Supercute and girlie, but not little-girlie, I don't think.
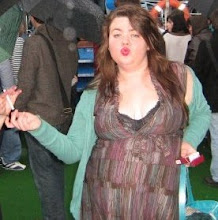
So here's what it looks like on; one issue I'm worried about is that I kept making adjustments and trying it on without wearing a bra (I still have yet to try it on with full support) so I worry it won't look as good. That said, I think it turned out really pretty and I'm mildly annoyed that it's finally warming up because it's gradually getting out of sweater/cardi season and I've just started having fun with them! Oh well.

 There's a bit of pinching on the sweetheart part, but I don't mind. I knew it wouldn't be perfect. I think my next project's going to be a wallet, or maybe another sweater conversion. This time into a cardigan since it is getting so warm. Who knows.


